All About Coffee

  • How To Host A Coffee Cupping

    How To Host A Coffee Cupping

    Have you ever tried coffee “cupping”? It’s similar to the idea of a wine-tasting but involves observing the aroma, taste and other characteristics of a particular coffee or varieties of coffee. Professionals use this method to determine things like the quality of the coffee or the best way to roast that bean.

    Even though cupping is a process used by the pros, you can cup coffee in your own home. How many times have you grabbed that morning travel mug and rushed out the door, never really stopping to smell the roses taste what you’re actually drinking? Cupping gives you a chance to do just that. And of course, everything – including cupping – is better with friends. Next time you’re looking for something to do, have some friends over and host a coffee cupping. You’ll learn a lot, enjoy coffee together and likely get a good laugh as you slurp and spit (yup, it’s true).

    How to Host a Coffee Cupping

    What you’ll need:

    • At least two varieties (for comparison) of freshly roasted coffee (ideally roasted in the last couple days)
    • Filtered water
    • Timer or clock
    • 5 oz glasses (or close to that size).You’ll need at least 1 glass for each kind of coffee. If you have a lot of people cupping with you, have 2-3 glasses for each type of coffee you’re cupping.
    • Extra cups or mugs for rinsing
    • Gram scale (ideally) or teaspoon
    • Spoons (at least 1 per person)
    • Grinder
    • Water heating device
    • Pencil and paper to take notes on your observations of the coffee


    Setting Up

    1. Start heating up your water. You’ll need enough water to fill all of your 5 oz glasses.

    2. Measure 8 grams (or 2 teaspoons) of whole bean coffee in each of your 5 oz glasses. Make sure to mark which variety of coffee is in which glass. You can also cup “blind” meaning that you don’t know which coffee is which. To do this, just turn your labels over so you can’t see them during the cupping but you’ll be able to identify the coffees at the end.

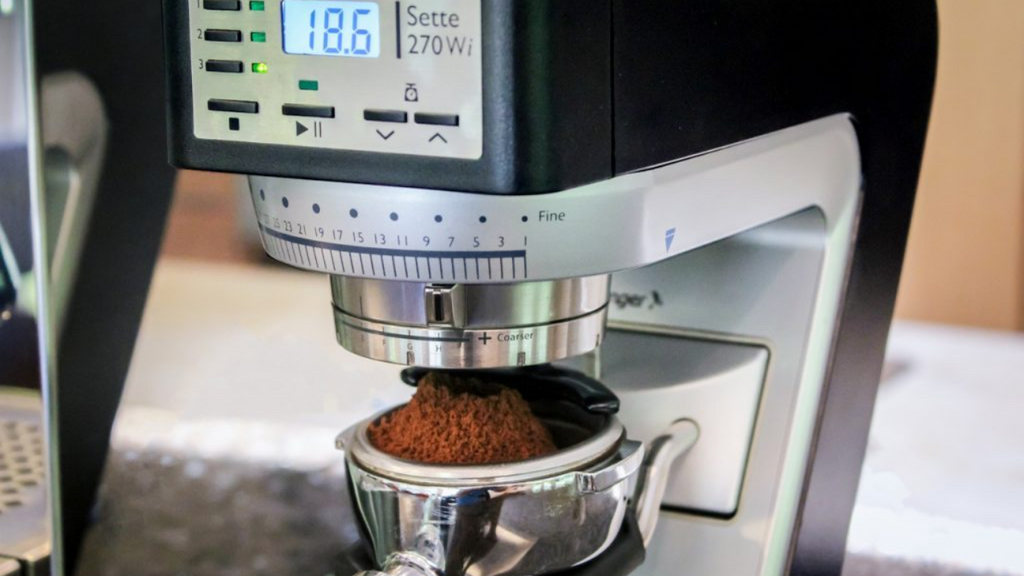
    3. Grind each coffee very coarsely and put the 8 ounces of grounds back into the correct glasses.

    Fragrance

    4. Smell each of the cups of ground coffee. Really sniff and inhale that scent. Gently tap the sides of the glass to move the grounds around and release more of the fragrance.

    Aroma

    5. Take your water, heated to just below a boil and pour it over the grounds until each glass is full (about 150 mL of water). Let the coffee steep for 4 minutes.

    6. While your coffee is steeping, make sure your extra mugs or cups are filled with water for rinsing.

    7. After your coffee has steeped, observe the aroma of the coffee. Take the outside of your spoon and push the coffee grounds sitting on top of the water towards the back of the cup. As you push the coffee grounds away, the aroma of the coffee will be released. This is called “breaking the crust”. After you break the crust, put your nose as close to the coffee as possible (getting grounds on your nose is perfectly acceptable) and sniff.

    8. Make sure to rinse your spoon before placing it in a new variety of coffee so that the flavors don’t get muddled.

    9. After breaking the crust and observing the aroma of all of your coffees, scoop out the grounds sitting on top of the water. Discard the grounds.

    Taste

    10. Now we’ll get to tasting. Here’s where it gets really fun. Take a spoonful of coffee and slurp that good stuff up. Yup, really slurp it. You want to try to get the coffee to hit all parts of your mouth, because it’ll taste different in the back of your mouth than on the tip of your tongue. Taste each variety of coffee, rinsing your spoon in between varieties. If you don’t want all the caffeine, grab an empty glass to spit the coffee into. Yup, just slurp and spit – and don’t be shy about it.

    11. If you’d like, you can record your observations during this process. Click here for an example of a simplified cupping form you can use to take notes. If you’re cupping with friends, compare results. You may find similarities, but you may also have tasted things a little differently than someone else. Everyone’s taste buds are different – just have fun with it and enjoy trying all the different kinds of coffee!

    If you want to know how the pros cup coffee, check out these instructions from the Specialty Coffee Association of America website.

    Continue reading
  • 4 Reasons Baratza Coffee Grinders are Worth the Money

    4 Reasons Baratza Coffee Grinders are Worth the Money

    I’ve told people over and over that if you’re going to buy coffee gear, the first thing you should get is a good grinder. Some of the best all-purpose coffee grinders out there are Baratza grinders.

    They’re a little more expensive. You can certainly find a cheaper grinder on the market pretty easily. Here are 4 quick reasons why we recommend Baratza:

    1) 4 Years. Nothing lasts 4 years. Most small housewares last 2-3 years (planned obsolescence).

    2) Baratza parts are available online for all of their grinders. Find parts for that Cuisinart. I dare you.

    3) Parts are customer replaceable by anyone who can use a screwdriver. There are PDFs/videos/instructions available several places online. Everything you need to fix your grinder (except the screwdriver). If you don’t feel like it, you can send your grinder in to Baratza for repair for a very reasonable price.

    4) Absolutely stellar support. Four years after I purchased my Baratza Virtuoso the motor died. It’s an electronic part. These things happen. I called Baratza. A real person answered the phone. That person knew what he was doing. That person has the authority to make decisions without passing it on to fifty other people who are going to charge you the cost of a new grinder just for the parts. He shipped me the new motor without running me through seven other departments.

    Bottom line – My Baratza Virtuoso grinder is working better than ever. I’m 100% sure it will be working for at least the next 4 years. All of that is worth the couple of extra bucks for a Baratza grinder.

    Continue reading
  • How to Make Coffee in a Chemex Brewer

    How to Make Coffee in a Chemex Brewer

    About The Chemex

    The Chemex coffee brewer is absolutely beautiful in it’s simplicity and in it’s ability to make outstanding coffee. It was invented in 1941 by German inventor Dr. Peter Schlumbohm and has been on permanent display at MOMA NY and the Corning Museum of Glass and was also selected by the Illinois Institue of Technology as one of the 100 best designed products of modern times.

    The Chemex has been seen in popular culture for years. Most notably (for me, anyway…) we discover in Ian Fleming’s From Russia, with Love James Bond uses an American Chemex with coffee from De Bry’s in New Oxford Street for his breakfast coffee when stationed in London. If it’s good enough for Mr. “Shaken – Not Stirred” it’s good enough for me.

    How To Brew in the Chemex

    Using a Chemex couldn’t be simpler. Here’s the quick run-down of how to make coffee in a Chemex:

    Weigh out the beans. In our 6 cup brewer we use 48 grams of beans. For the 8 cup use 64 grams and for the 10 cup use 76 grams (yeah – use slightly less as you make more)
    If you have unfolded filters, fold them in quarters. Open it up and put the filter in the Chemex brewer. Make sure the side that has 3 layers of filter paper is against the spout portion of the brewer.Heat water in a kettle to boiling. Pour a little water in the Chemex brewer to rinse away any of the nasty paper taste from the brewer. Empty the water out of the brewer. Don’t remove the paper filter at this point – it’s very difficult to get it back in if you do.
    Grind your beans to a medium consistency. Similar to what you would do for a drip coffee. On my Baratza Virtuoso grinder I set it to about 19 or 20. Add the ground beans to the brewer.
    Put the Chemex brewer on your kitchen scale and tare to zero.Pour about 50 grams of water over the beans making sure they get completely wet. Let the beans “bloom” for about 30-45 seconds. Don’t skip this step!
    Slowly pour water over the grounds until the scale reads 710 grams. (945 for the 8 cup, 1180 for the 10 cup). Let it sit until it stops dripping into the bottom part of the brewer.Timing is the key here – it should take about 4 minutes for you to brew 710 grams of water. If it takes longer, your grind is too fine. If it takes less time, your grind is too coarse.
    Remove the filter, pour and enjoy!


    Continue reading
  • How to Make Coffee in a French Press

    How to Make Coffee in a French Press

    About The French Press

    There are many ways to make coffee. Some bad, some great. Some, for whatever reason, are clouded in mystery. They have an aura that the common man is not capable of attempting such a feat in his humble domicile.
    Maybe it’s the word “french” that instills an air of unapproachability. For whatever reason, the french press is seen as too complicated… or too slow… or too… something.
    We’d like to put an end to that.
    In reality, the french press is one of the easiest, least expensive, fastest and best ways to make great coffee at home or even in your office.

    The Tools:

    • French Press (in this case, Bodum Chambord 8 cup)
    • Coffee
    • Grinder
    • Water just off a boil
    • Timer or a clock. Sundials are not accurate enough.
    • Optional Items:
    • Scale with a tare or zero function

    The Grind:

    Set your grinder to a very corse grind. On our Baratza Virtuoso grinder we use a setting of 30. 

    Measure:

    For the 8 cup press we use 54 grams of coffee (Yeah, we’re that particular). If you’re not using a scale use about 9-10 tablespoons of coffee (that means actual tablespoons – with a tablespoon measure – not soup spoons).

    Add Water

    J

    ust off a boil – 202 degrees F. If you don’t have a thermometer, bring the pot to a boil, remove from heat and then let it sit for 30 seconds. For the 8 cup press we use 725 grams of water.

    Wait….

    This is the most difficult part. Wait 4 minutes.

    Press, Pour and Enjoy!

    Aaaahhhh….. 

    Some tips:

    • Don’t pour the grounds down the drain! Unless you really like your plumber.
    • Pour the left over coffee through a strainer and compost the grounds or put them directly in your garden.
    • If the 8 cup press makes more than you need right now decant it into a carafe to use later.
    • Make 2 or 3 presses in a row, and pour into a thermal carafe to serve a crowd.
    • You can use the press for cold brew coffee as well. Same ratios of coffee and cold water. Let it sit 10-12 hours. When it’s done, plunge and store the concentrate in the fridge for up to 2 weeks. To serve, mix 3 parts hot water to 1 part coffee. For an easy iced latte shake 1 part cold milk and 1 part coffee plus flavored syrup (if you’d like) and pour it over ice.

    Looking for a slightly different method?

    James Hoffman is one of our favorite YouTube coffee people and here's his french press coffee method. 

    Continue reading
  • Leaving the Dark Side

    Leaving the Dark Side

    I love really rich, flavorful foods. Things that just blow your socks off when you taste them and the flavor stays with you even after you drink it or eat it. Occasionally, I love a really rich tasting pumpkin spice latte with whipped cream and sprinkles. It’s dessert in a cup and it’s got espresso. Awesome.

    Most of the coffees that are marketed at large chain coffee shops (and even at fast food chains) are roasted super dark. They’ve been doing it that way for years and the market has definitely bought into it big time. The American coffee-buying public (myself included) has for years learned to like the strong, smoky taste of these coffees.

    So why doesn’t FreshGround roast their beans that dark?

    Coffee is made up of lots of different chemicals. Among those are sugars. As the roast gets darker and darker those sugars start to caramelize. Just like it does in a pan when you’re cooking. This is the reason for the caramel flavors in a lot of coffees like our Dark Roast Ethiopian. Past the point of caramelization, however, sugar starts to burn. And when sugar burns it’s a powerful flavor that overwhelms almost everything else around it.

    We love our beans. We love the story that’s behind them and we love all of the subtleties that come out as we roast them. We want to treat them well (before we mash them up in our grinder) so you can extract just the right amount of coffee joy from them.

    Our feeling is that once you get a coffee bean to that dark roast point you are missing the true flavors and distinctiveness of the individual beans. The blueberry in a Ethiopian Harrar is gone. The citrus flavor in a Kenyan is, well, toast. It all tastes like burnt sugar.

    Then why do the Big Boys do it that way?

    Quite simply – 85% of their business is flavored milk based drinks. Carmel, hazelnut, toffee nut, vanilla and more. Add some milk, whipped cream, and a couple of sprinkles and there’s no way you can taste the subtleties of a particular single origin coffee through all of those other flavors. In fact, if the coffee didn’t have as strong a flavor you wouldn’t taste it at all. It would taste more like a milk shake than a coffee drink.

    But I Like Strong Coffee!

    As do I! I love lots of flavor. But I’ve learned that the flavor isn’t just in the darkness. The flavor comes from the farm – the location, the soil, the type of bean, what the weather was like this year. The flavor comes from the roast – if it’s carefully crafted and not burned. The flavor comes from proper brewing methods that extract just the right amount of coffee goodness before it gets bitter.

    We’d like to challenge you – if you love really strong, dark coffees at the corner market, stop by sometime. We’ll brew up some of ours and put it right next to theirs – and we’ll give you a bag of whichever one you like better.

    Continue reading